PAINT DAY RESOURCES
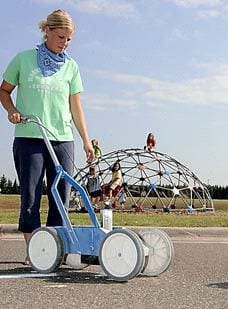
Paint Machine and Paint
The easiest way to paint school playground elementary school playground markings is with a Striping Machine. This is available with 6 cans of white stripers spray paint, for outlining all the game courts. We sell only white commercial contractors' quality striping paint.
Detail work is rolled on and we recommend 4 colors (red, blue, yellow, & green.) One gallon of each will be more than enough. Detail work is adding color in addition to letters, numbers, shapes, and feet. (These plastic stencils are included in a number of programs and stencil packs)
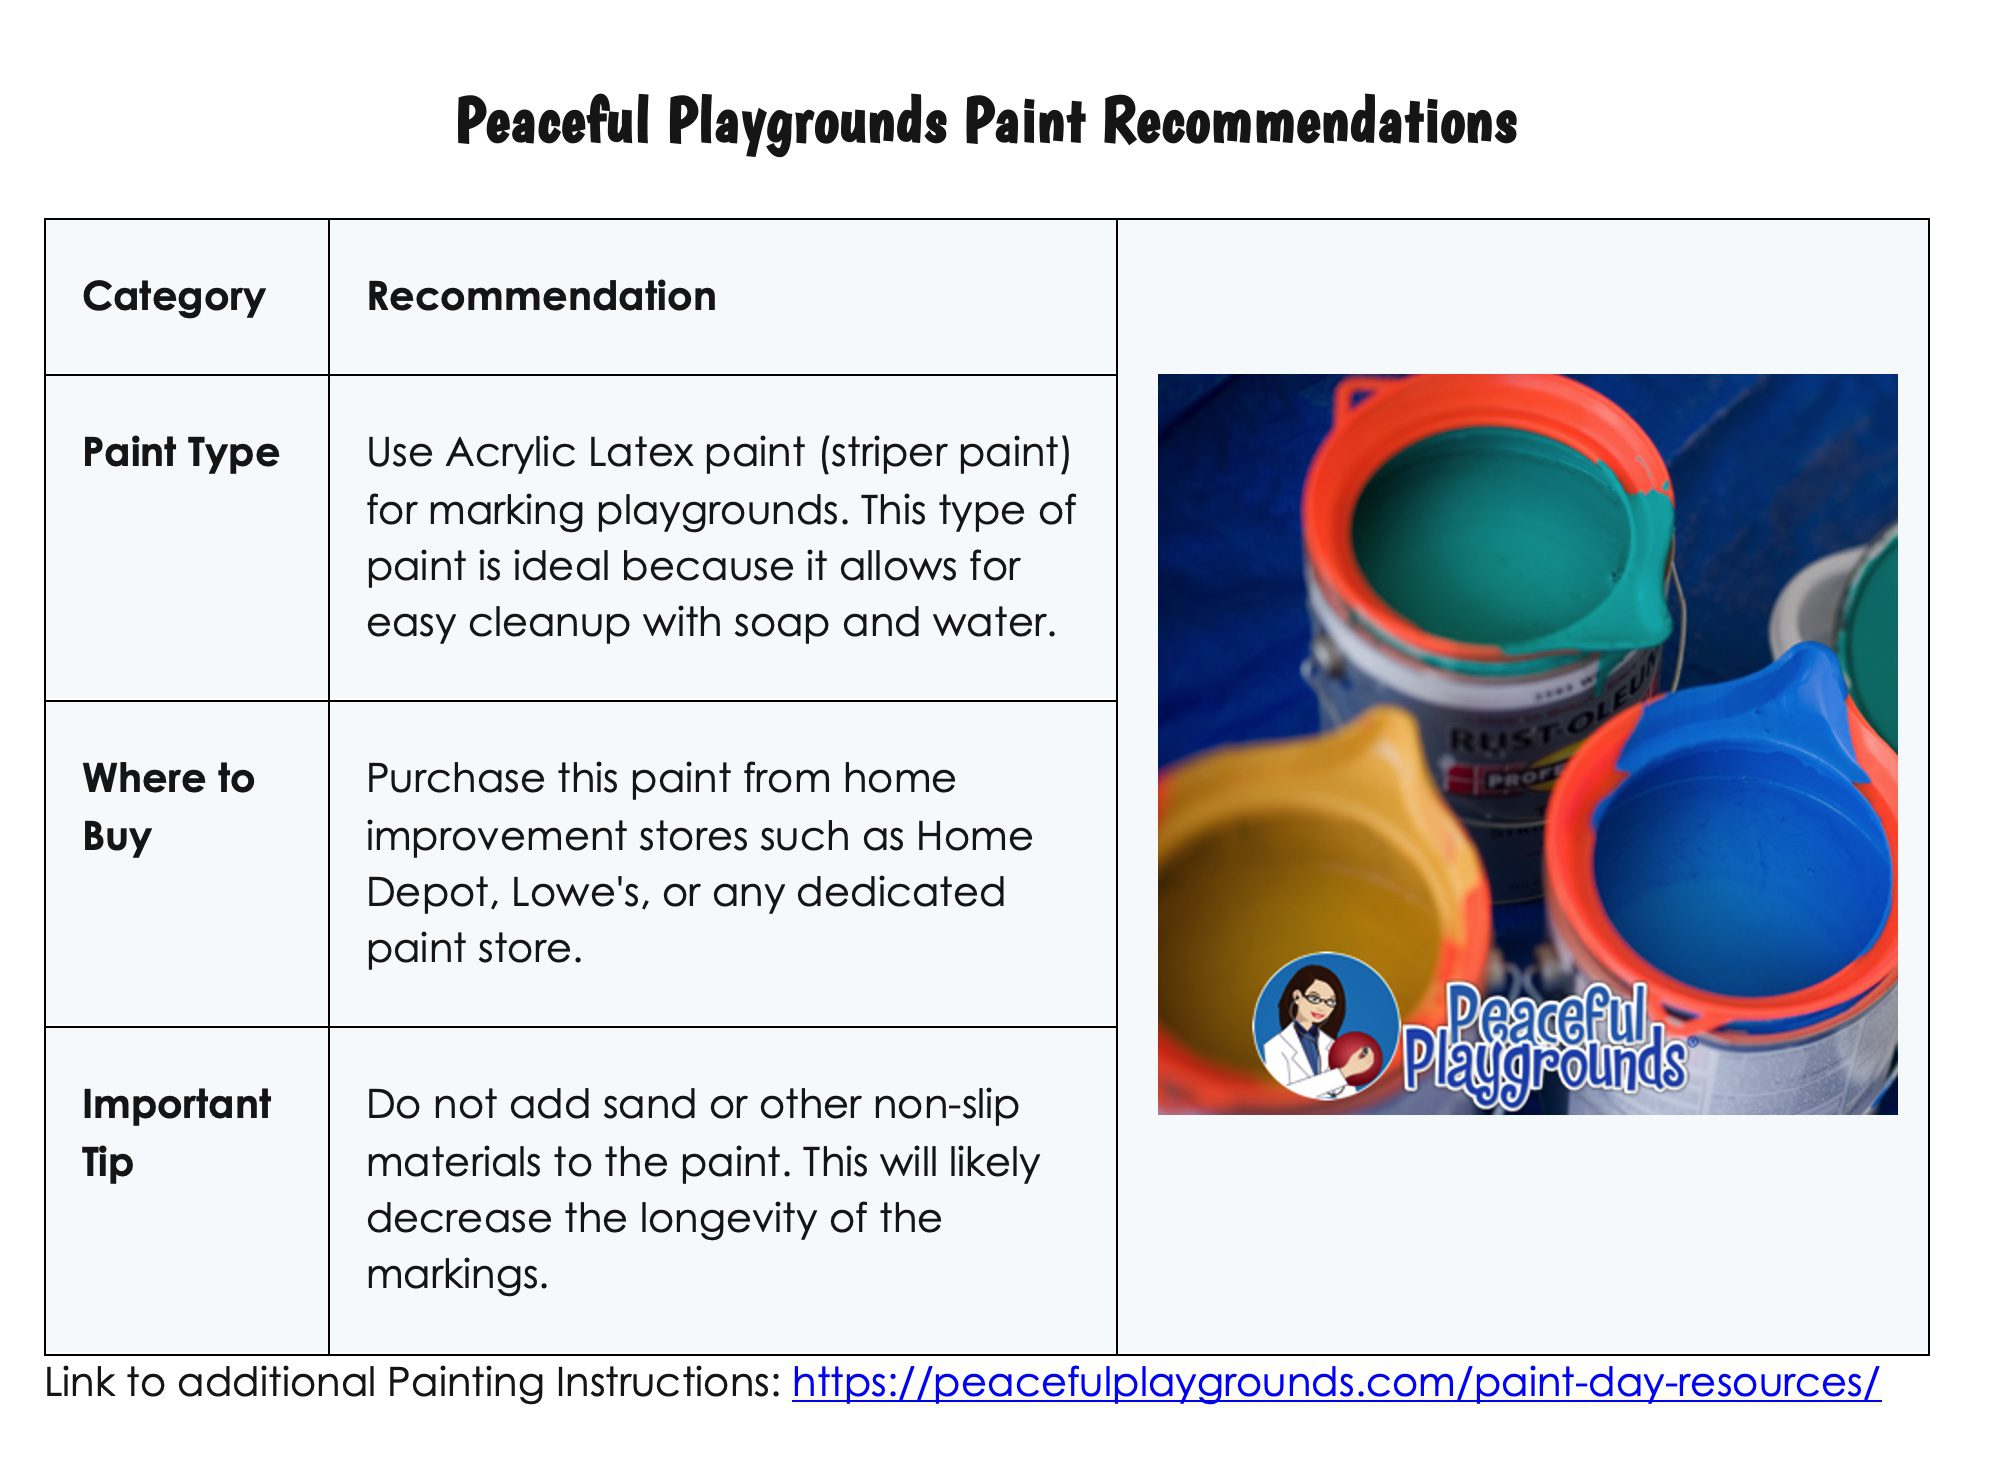
It is important to use the correct type of paint so that it will wear properly in the outdoor environment. We RECOMMEND STRIPERS PAINT OR PAINT USED TO PAINT PARKING LOTS OR STREETS! Oil-based paint tends to be messy and not easy to clean up, which is why we recommend water-based latex paint. If you are having a hard time finding stripers paint then MASONRY paint can also be used and mixed to the proper color.
Striping machine is for all your straight lines.
Paint for School Playground Markings
**Download Paint Day Instructions Guides at the bottom of page. Fill out the form and have it emailed free.**
The paint colors may be selected on preference. It is recommended that the primary, kindergarten, and preschool playgrounds use primary colors to enhance color recognition.
Colorfully painted playground games are inviting and fun! Use "Stripers" (parking lot) paint for streets and curbs. It is the most durable outdoors on asphalt. Use a well-known local paint supplier. Stripers paint is available at Home Depot or Lowes.
Water-based latex paint can be specially formulated for painting playground marking areas and is available in many colors. This is the fastest drying asphalt-appropriate paint and will be dry to the touch in less than three hours. Oil-based paint tends to be messy and not easy to clean up, which is why we recommend water-based latex paint.
Be sure to sweep down the surface and then wash it down the day before painting. It is not necessary that you use a top coat or sealer. It can sometimes create slippery surfaces depending on several factors so test a small area before using.
Supplies for Marking the Playground
• Playground Chalk
• Rope
• Stake(s) ( for grass designs)
• Old Rags
• Stripers Paint
• Paint Stir
• Chalk Snap Line
• Paint Roller
• Paint Brush
• 25 ft. or 100 ft. Measuring Tape
(Budget approx. $250-300 for paint and supplies)
Color adds a great deal to school playground markings aesthetically. Playground Stencils adds functionally for elementary school playgrounds.

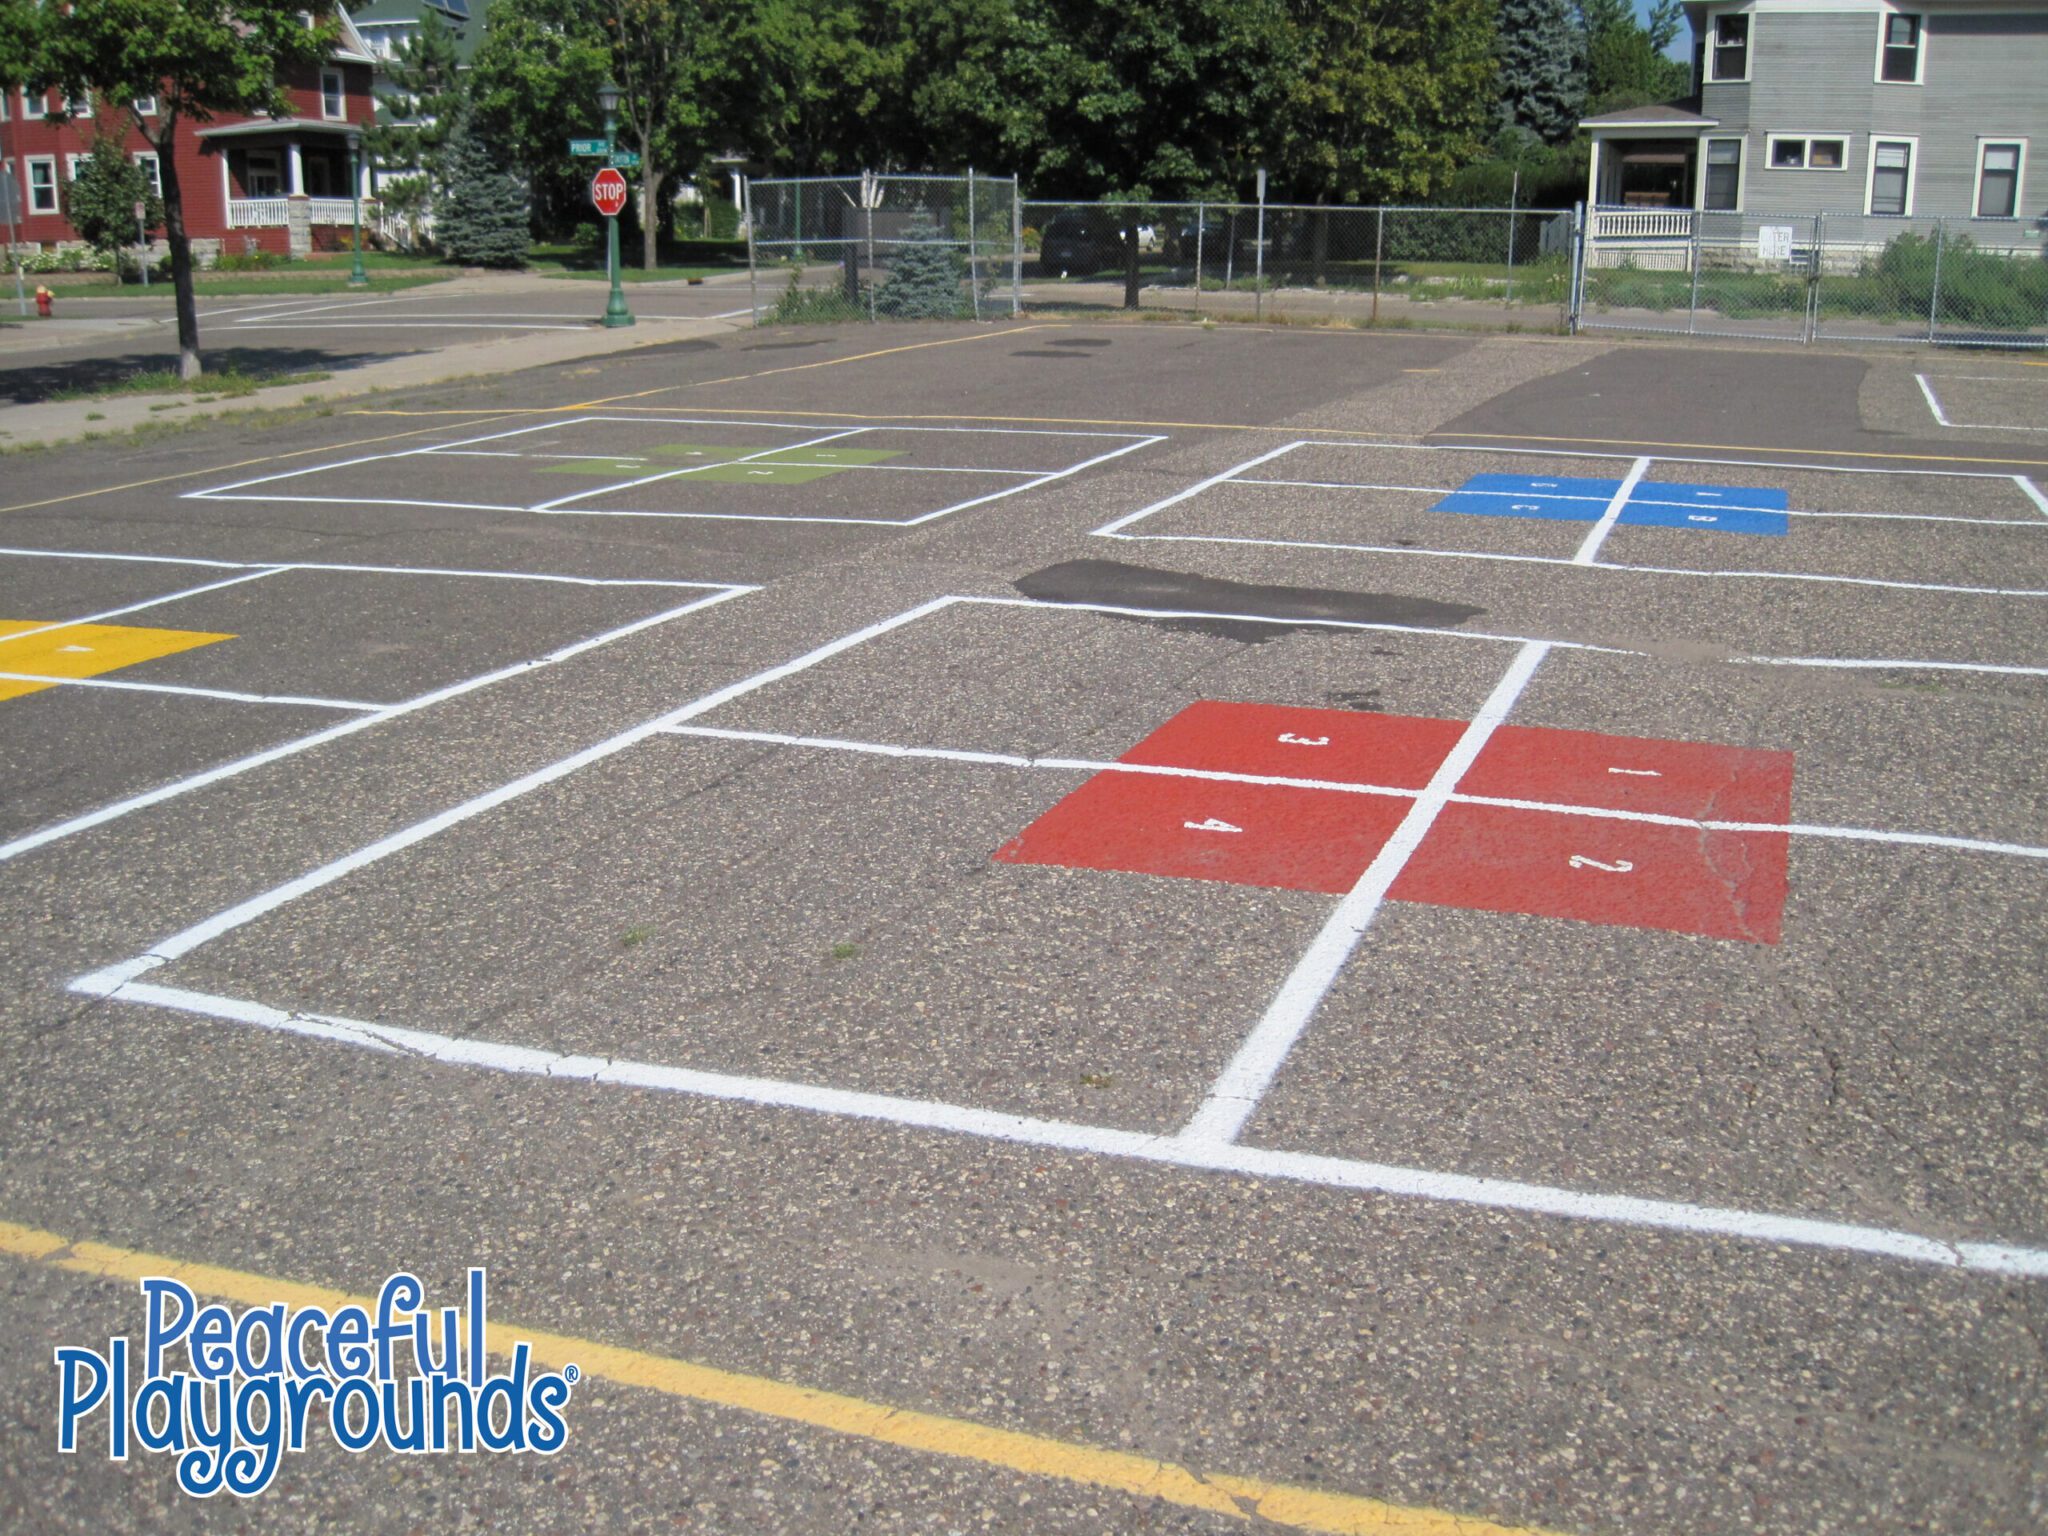
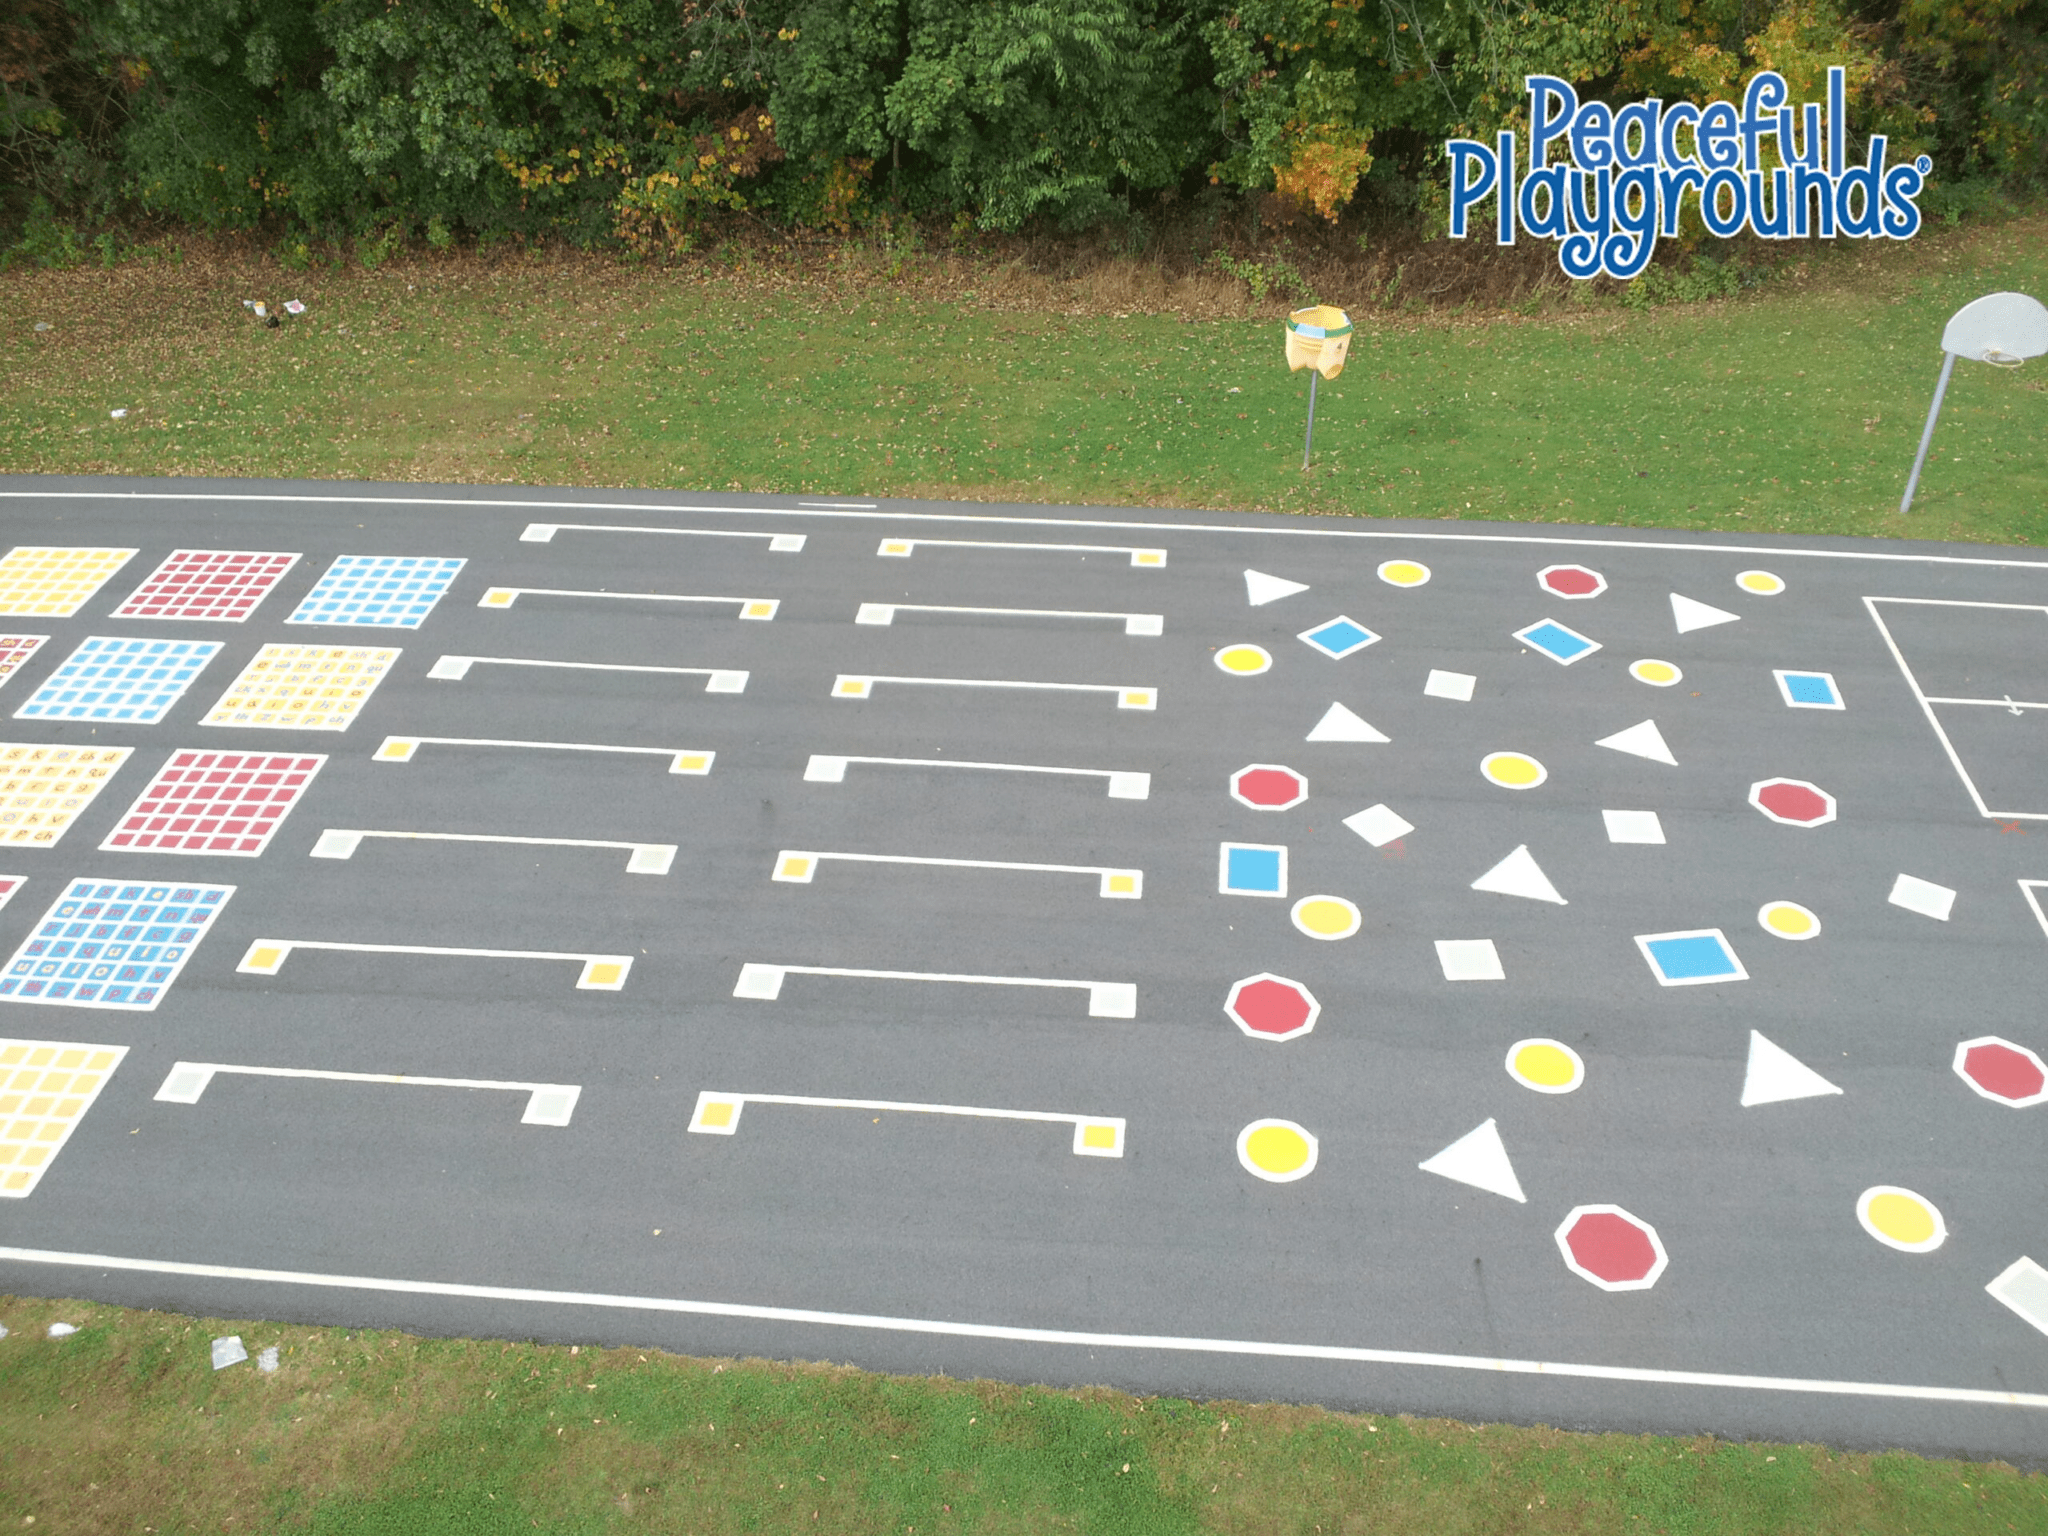
Tips for adding color while painting playground games & markings.
Large areas like 4 square courts and multi-use circles do not require that you paint in the background of each circle or square. This requires using a great deal of paint and does not add to play value only aesthetics. You might consider painting in the background on smaller games and using colors to paint small squares to denote squares A, B, C, and D. This is a huge cost-saving and still looks nice. (see photos for paint color options)
Sweep, wash down (power wash if available) and let the area that will be painted, dry completely, prior to painting the designs. Use chalk and layout the entire playground before beginning painting. New asphalt should be allowed to cure for one month prior to painting. But check with your company that is resealing the playground because sometimes it requires up to 3 months to cure)
• Use a roller for applying paint to a large surface area.
• Paint machines or brushes are both suitable when working with grids.
• Do not use a top sealer, as this could contribute to slippage and be a danger to children or cause injuries especially when wet after rain or snow.
Colorfully painted playground games are inviting and fun!
USA & World Map Instructions
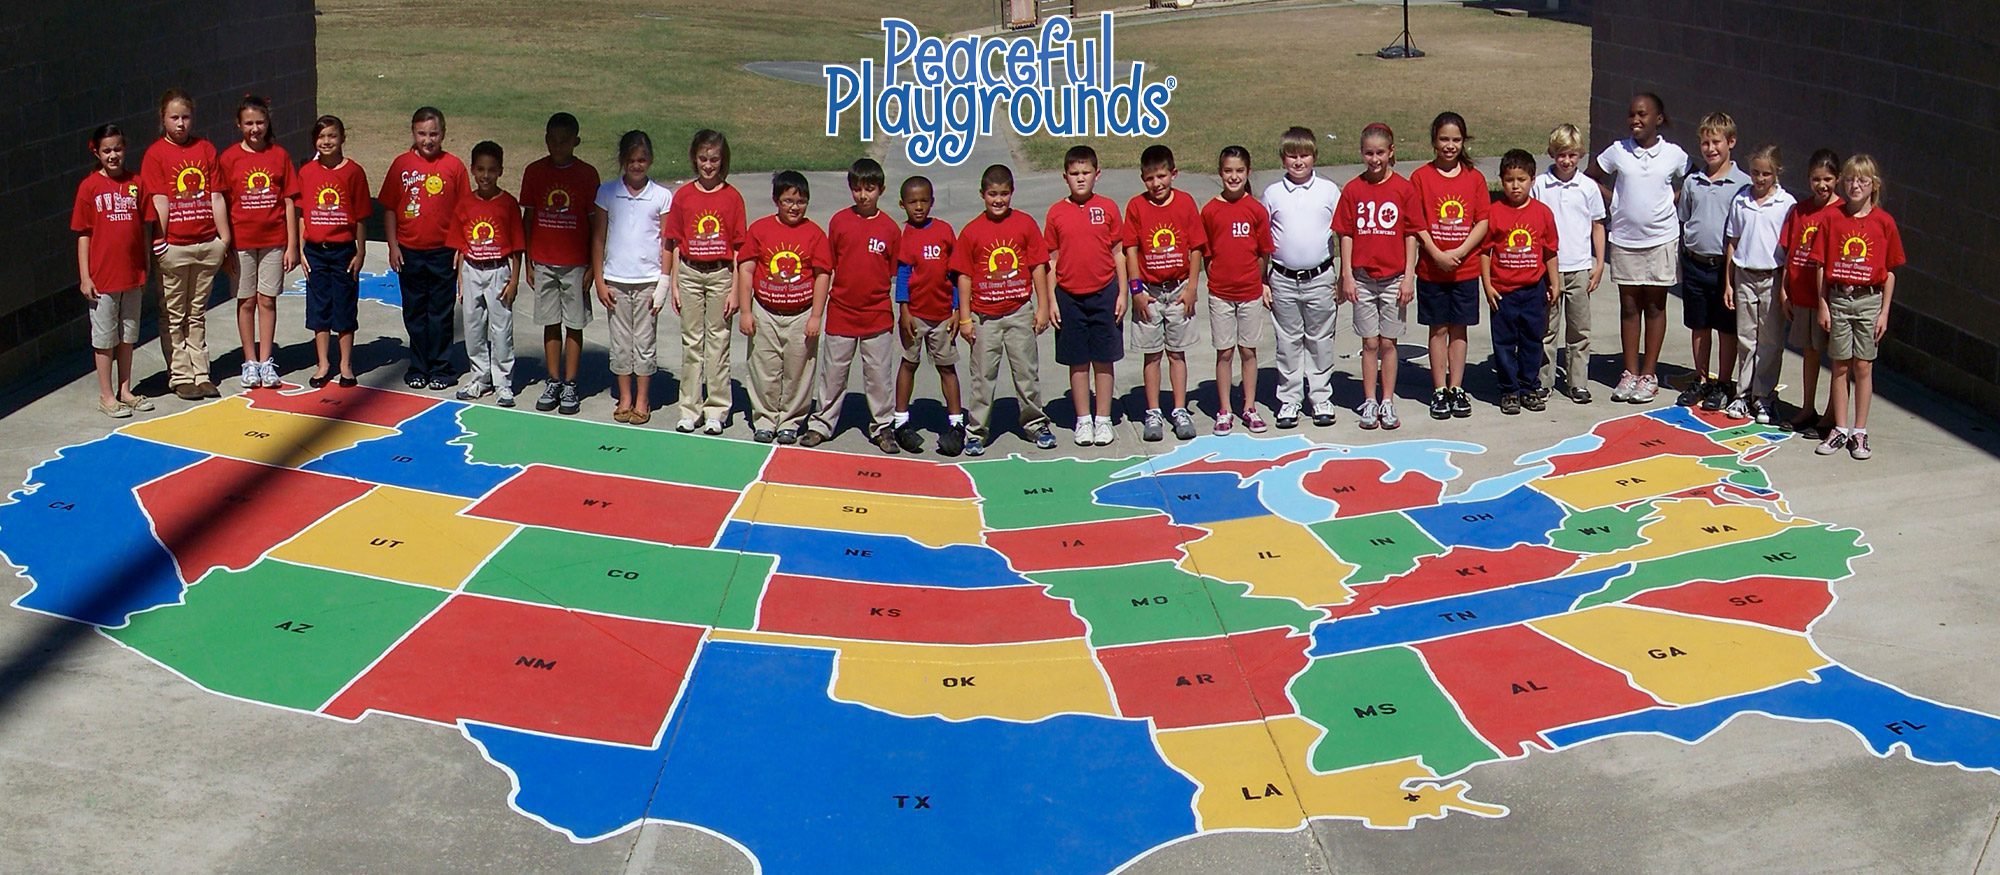
US & World Map Painting Instructions
**Download Paint Day Instructions Guides at the bottom of page. Fill out the form and have it emailed free.**
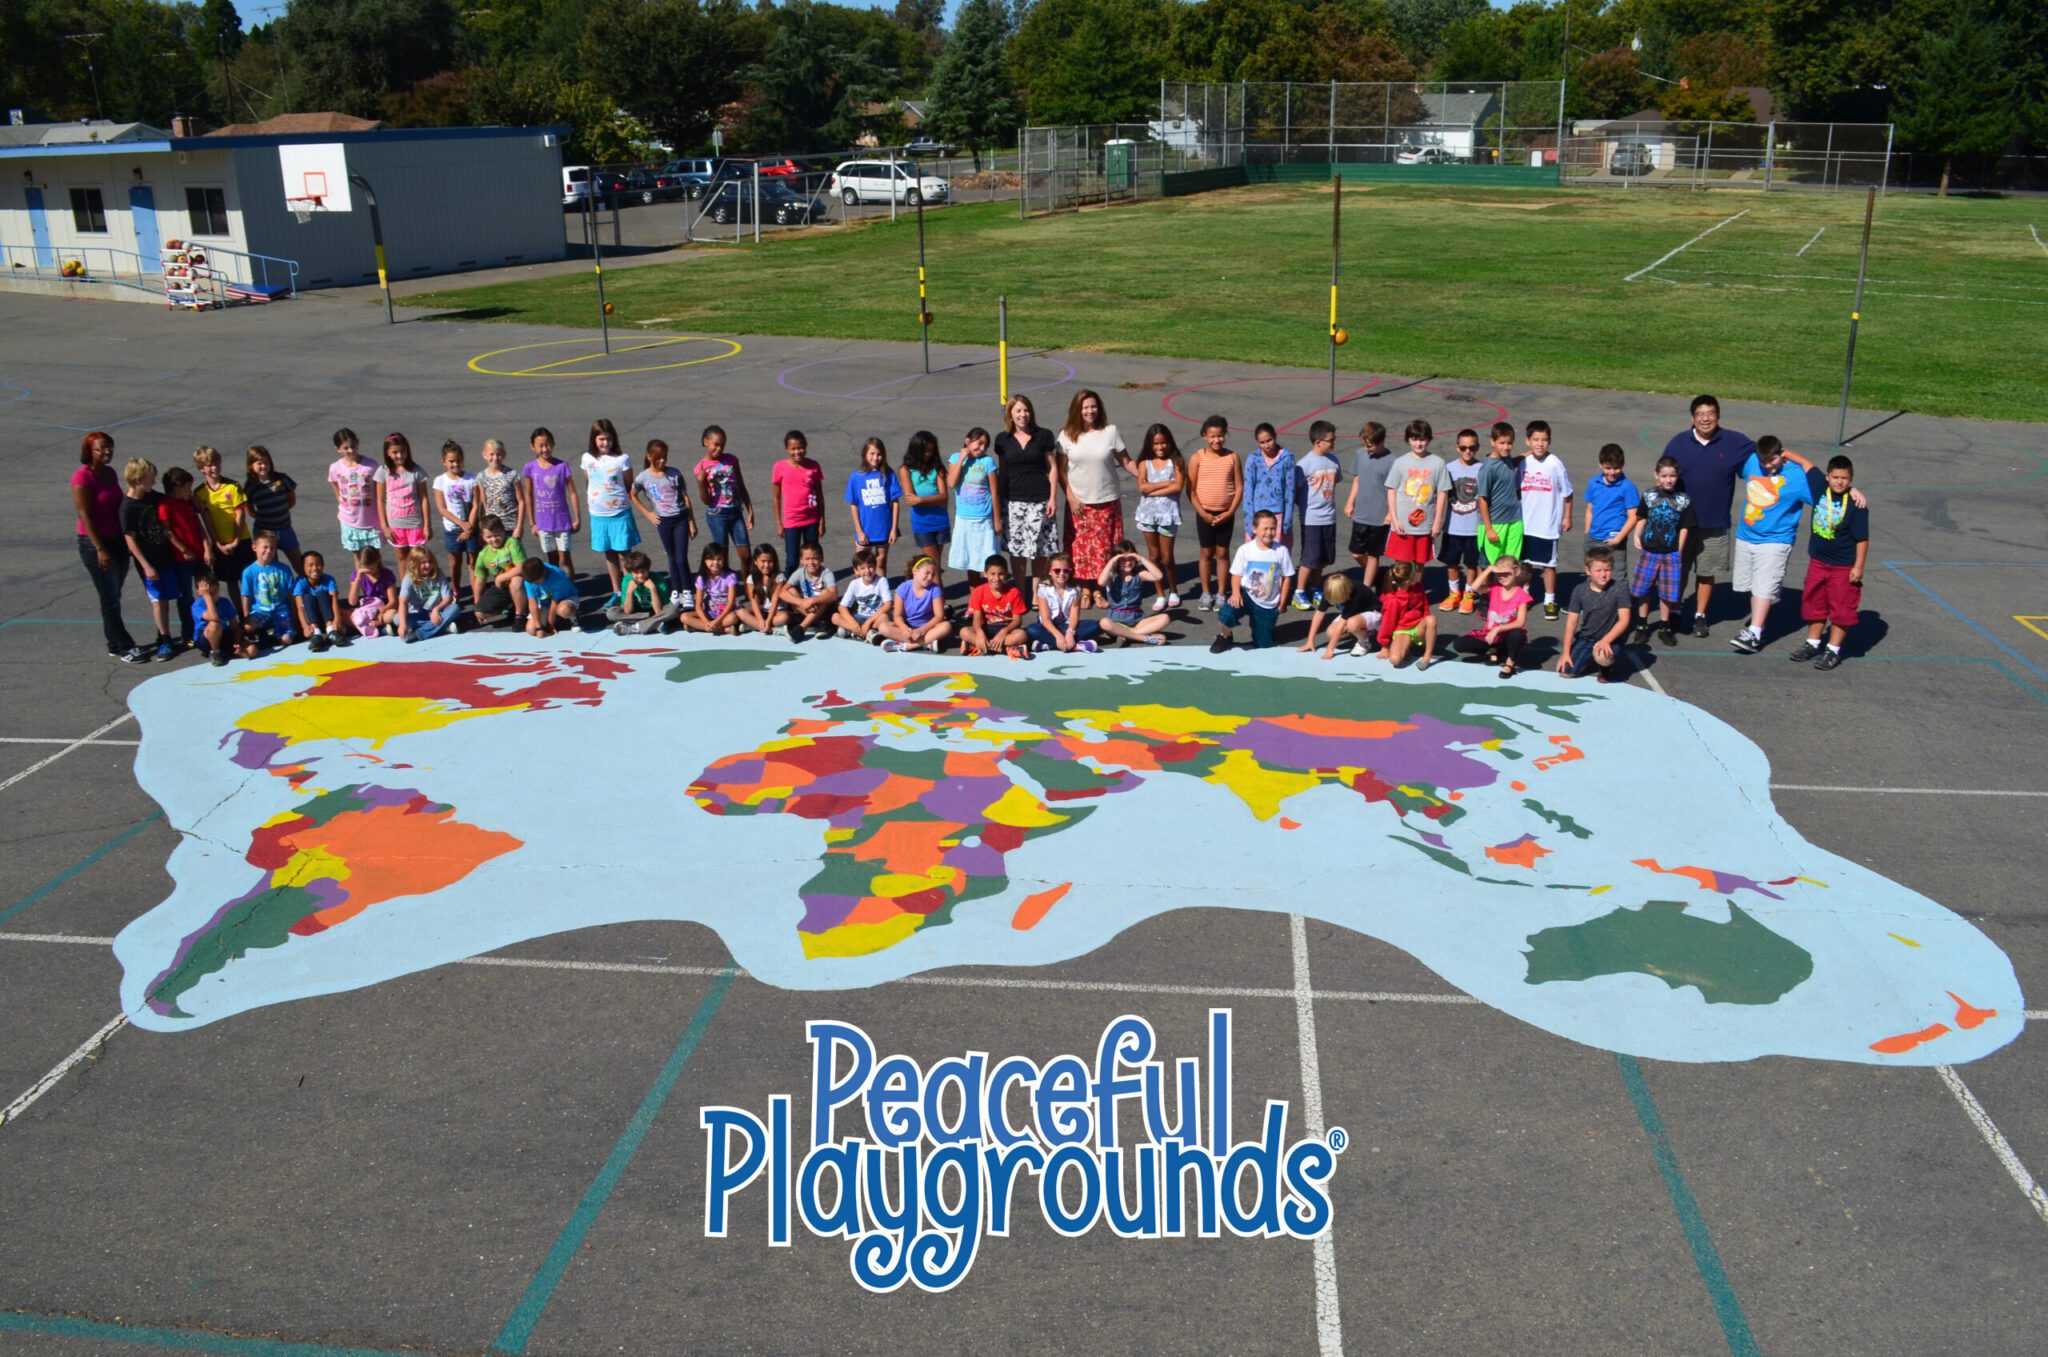
The U.S. Map is our most popular playground stencil. Both Maps come with a paint by number illustration & instructions.
Follow the simple instructions for best results.
Map Stencil Layout
1. Locate where you want the US or World Map playground marking.
US is about 27′ wide by 16 'high. World Map is 20′ x 36′.
2. Make sure the surface is clean. Sweep and power wash if needed.
3. Unroll stencil sections 1 & 2. Start laying out sections 1 & 2 approximately 15 feet below the top of your cleared area. This will allow you room for Alaska.
4. Anchor the stencil with masking tape to keep the wind from blowing it around. (Hint: Don't lay out map stencils on a windy day!) The earlier in the day the better to avoid surface winds that pick up as the day goes on.
5. Unroll stencil section 2 below and next to section 1. Layout the stencils in order 1-6. Be sure the stamped edges of the sections are aligned and the adjacent edges are close together.
6. Unroll the rest of the sections in order, so that the final layout looks like the illustration.
7. Note that there are TWO versions of Alaska off the west coast. The large is done in the same scale as the rest of the states. . . Alaska is enormous. The smaller version is included for grounds that do not have enough room to paint full-size Alaska. Tape together the sections of Alaska you wish to use. Cut Alaska out and move it above Washington as on the Illustration. Also, move the Hawaiian Islands as shown.
8. Chalk the holes with white school chalk (recommended), or paint with spray paint.
9. Remove the stencil.
10. Connect the dots.
11. Paint the states (it's also recommended start painting middle states and work your way out, to avoid stepping on already painted areas)
DON'T forget to Order the U.S. Map Games Book.
Order the US Playground Map Cards and Activities.
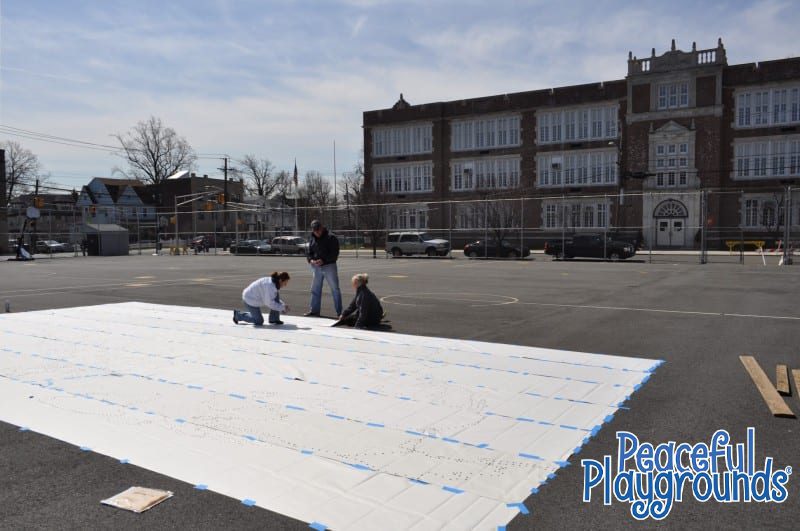
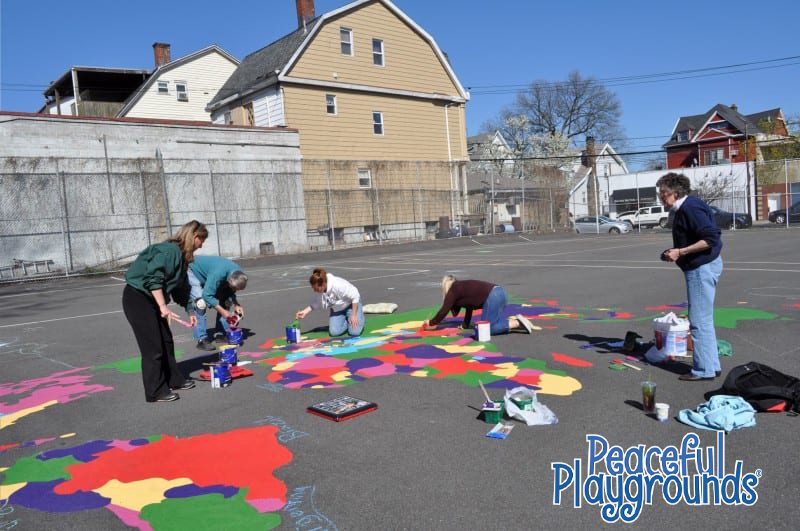
Stencil-world-map
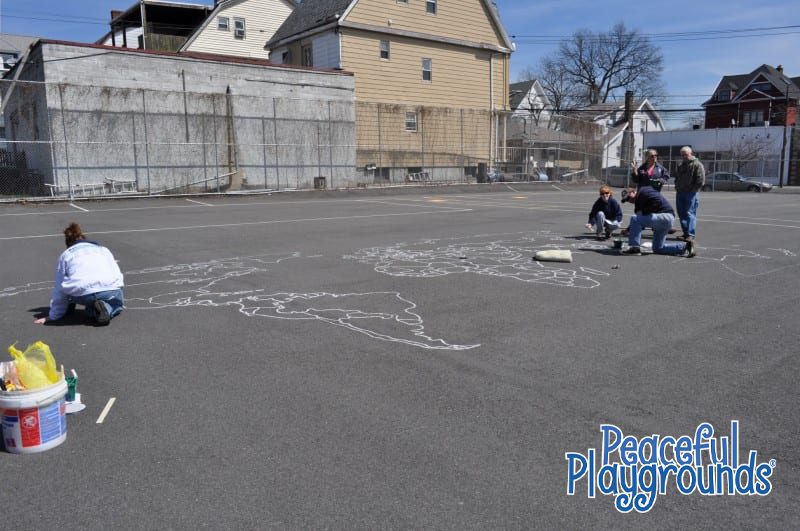
World-Map-Chalk
World-map-paint
US Map School Playground Marking Tips
1. Use 100% acrylic paint (stripers paint) or masonry paint. We've found that you will need about 1/2 gallon of each color. If you are using full-size Alaska, you may want to conserve paint by only painting the outline.
2. Pick out 4-5 colors of your choice. A useful idea is to give each team (of helpers) a color. Give each painter a copy of the color map so they can go to each of their states and begin painting. It also eliminates the need to ask "What's next?"
3. Helpful items: sponge brushes for the borders, regular bristle brushes to paint states, coffee cans with water to wash brushes, rags, knee pads.
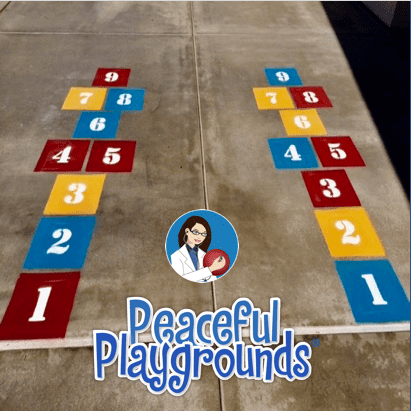
HOPSCOTCH PAINTING INSTRUCTIONS
STEPS TO DOWNLOAD THE HOPSCOTCH PAINTING GUIDE
Want an easily printable version of this page? Includes paint supplies needed, info on striping machine, US & World Map paint instructions, volunteer recruitment form and more…Fill out form and have it emailed to you FREE.
Paint Day Resources Download
"*" indicates required fields
School Playground Markings Add Painted Games to Your Playground
Stencil Packs for school playground markings.
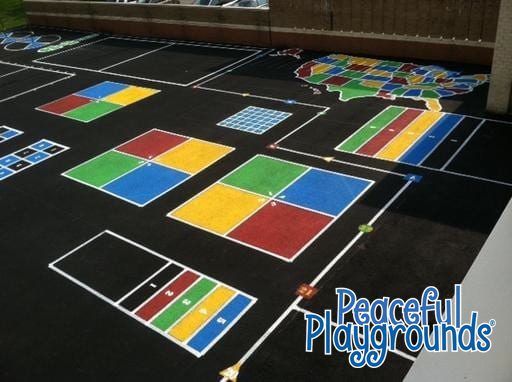
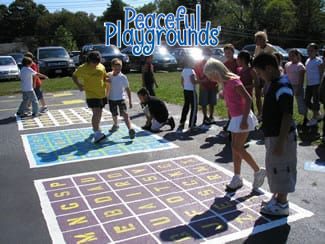
Playground markings add up to 100 games and activities to the playground.
Full-Size Roll Out Playground Stencils Make Painting Easy and Fun!
We have multiple stencil pack options. The Recess Roll out Stencil Pack and the PE Roll out Stencil packs are the most purchased.
Recess Stencil Pack for PreK – 6th grade. Comes with 6 popular game marking stencils and game suggestions.
PE Stencil Pack for PreK-3rd grade. Comes with 10 popular game marking stencils and game suggestions.
We also have the Sensory Motor Pathways pack.

Principal Shalhoub said,
We've had a great response to the new playground. The kids love it, the parents love it.
Murrieta Springs Charter School.
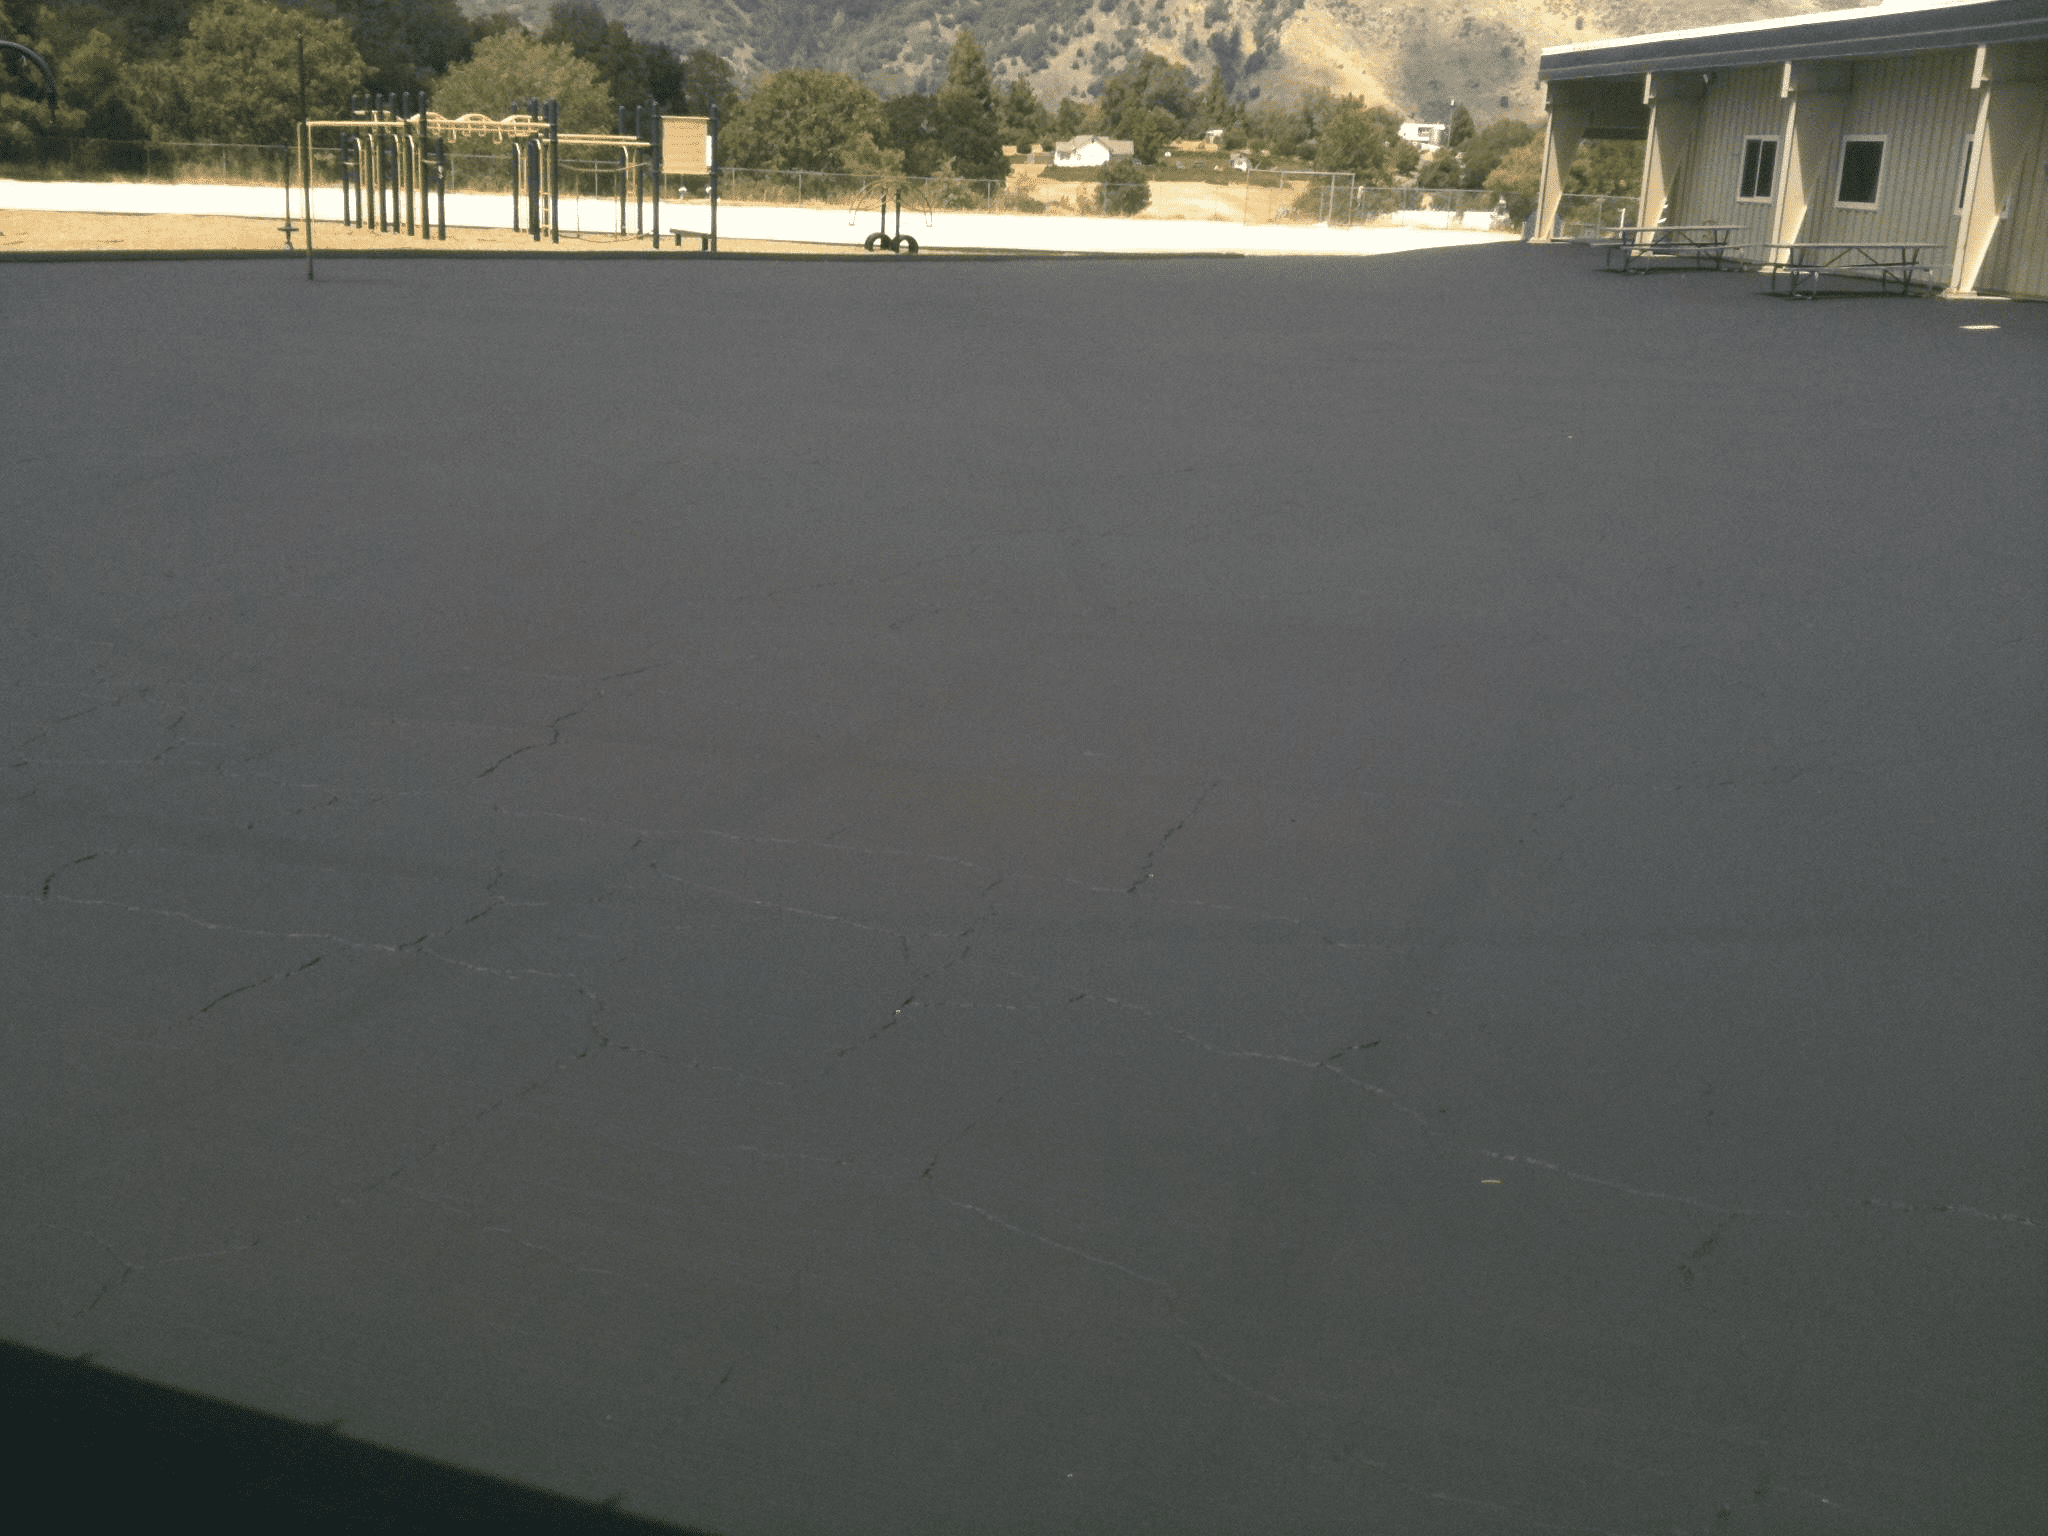
Before and after pictures of playground transformation with
Peaceful Playgrounds Recess Program
BEFORE
AFTER

"It's a miracle."
Your school playground can go from unattractive to beautiful with the Peaceful Playgrounds Recess Kit. All it takes is some volunteers, some paint, and PP Recess Kit. Lanier Elementary transformed its playground by adding 30 painted games and markings to both the kindergarten playground and the elementary playgrounds.
Need some additional information? Fill out the form below and receive info on the Recess Program.
Peaceful Playgrounds Recess Program
Fill out the form to receive more info on the Recess Program.
"*" indicates required fields
PRESS
Do you have the program and want some positive press for your school? Download the press release and send it to your local newspaper or tv news station. Invite them out for your paint day.

